Blueberry Crumble Cheesecake Bars

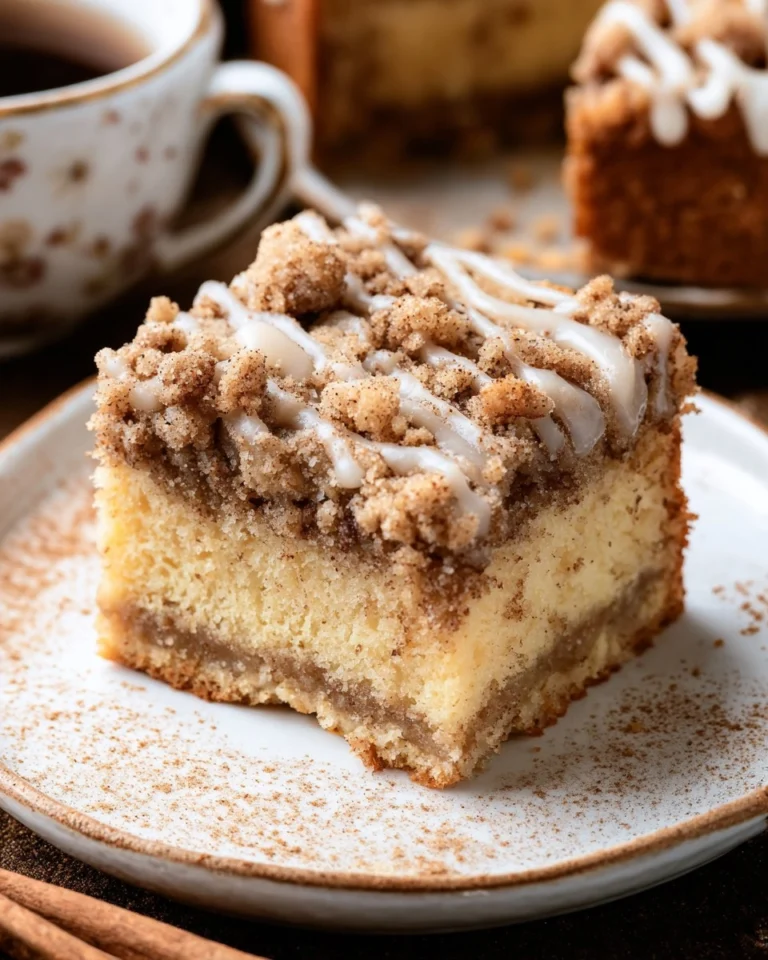
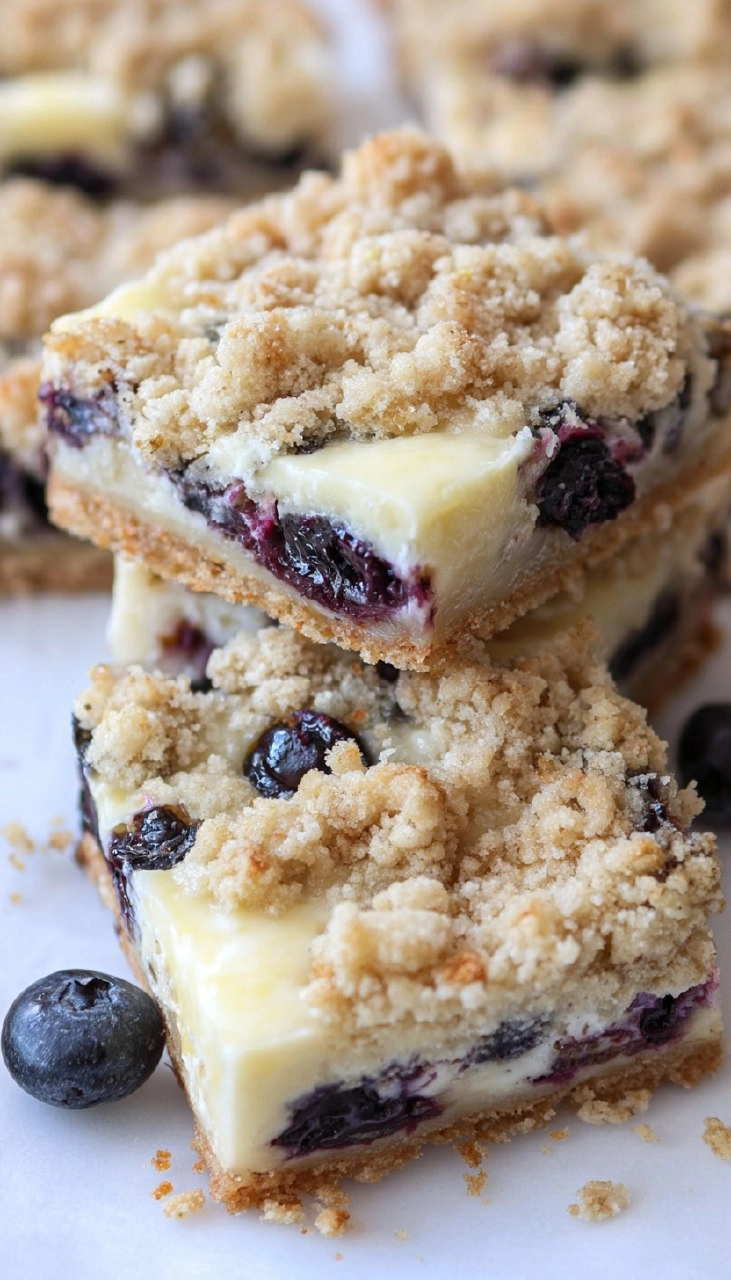
Blueberry Crumble Cheesecake Bars are a delightful intersection of a creamy cheesecake and a sweet, buttery crumble. These bars feature a luscious cream cheese layer, kissed with sweet blueberries, all topped off with a crunchy oat topping that gives each bite a satisfying texture. Perfect for summer gatherings or cozy evenings at home, these bars are easy to whip up and will satisfy your dessert cravings without breaking the bank.
Table of Contents
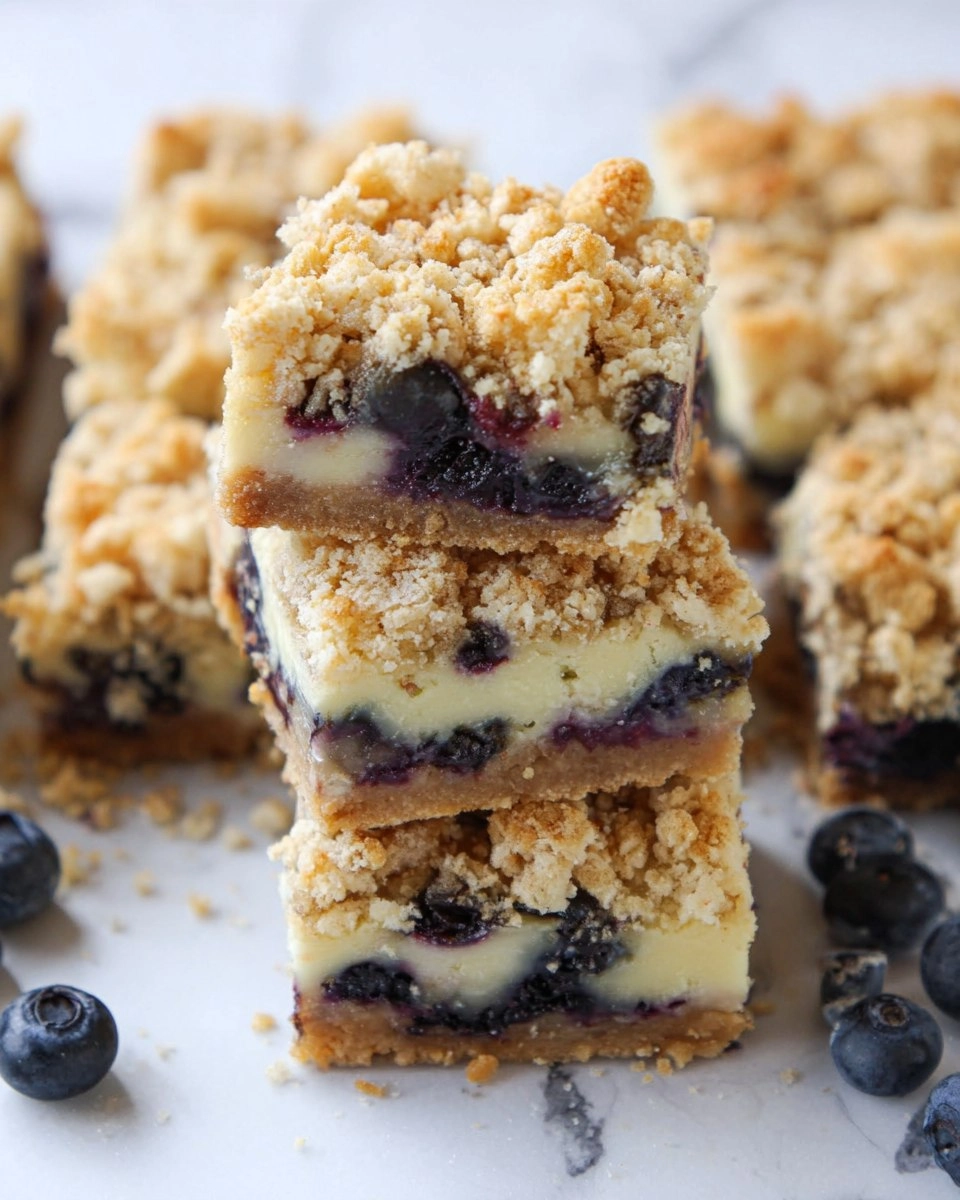
I first stumbled upon this recipe during a blueberry-picking adventure one summer. With a basket full of plump, juicy blueberries and a family eager to bake, I knew we had to create something special. The results were astonishing; the combination of tart blueberries with creamy cheesecake and a crumbly topping had everyone coming back for seconds. I guarantee once you take your first bite of these Blueberry Crumble Cheesecake Bars, they’ll quickly become a cherished go-to dessert!
Why You’ll Love This Recipe
- Simple & Quick: Ready in just over an hour, these bars are perfect for when you need a sweet fix in a hurry.
- Irresistible Flavor: The creamy, sweet cheesecake paired with juicy blueberries bursts with flavor in every bite.
- Eye-Catching Appeal: The layering of blueberries and golden crumble makes these bars as beautiful as they are tasty.
- Flexible Serving: Enjoy them as a dessert, snack, or even breakfast treat with your morning coffee.
- Diet-Friendly Options: Easily adapt the recipe for gluten-free or dairy-free diets with simple ingredient swaps.
Ingredients You’ll Need
- 3/4 cup butter, softened: This rich base creates the perfect crumbly texture. Use unsalted butter to control the saltiness.
- 2/3 cup sugar: Granulated sugar for sweetness, balancing with the fresh blueberries.
- 2/3 cup brown sugar: This adds depth and moisture, enhancing the overall flavor of the crumble.
- 1/2 tsp baking soda: Helps the crumble rise just slightly, giving it that perfect fluffy texture.
- 1/2 tsp salt: Enhances sweetness while balancing flavors.
- 1 1/3 cups flour: All-purpose flour provides structure to the bars. You can substitute with a gluten-free blend if needed.
- 1 1/3 cups quick oats: Adds heartiness and a pleasant chew, creating that beloved crumble texture.
- 1 (8 oz) cream cheese, softened: The star of the show, this adds creaminess to your cheesecake layer.
- 1 (14 oz) can sweetened condensed milk: This sweet creaminess not only sweetens but also gives richness to the cheesecake.
- 1 tsp vanilla: A splash of vanilla enhances the flavors wonderfully. Use pure vanilla extract for the best results.
- 1 egg yolk: Acts as a binder in the cheesecake layer, ensuring a smooth consistency.
- 1 cup blueberries: Fresh or frozen, they add a burst of fresh fruitiness. If using frozen, no need to thaw—just toss them in straight from the freezer!
How to Make Blueberry Crumble Cheesecake Bars
- Preheat the Oven: Start by preheating your oven to 350 degrees Fahrenheit. Prepare a 9 x 13-inch pan by spraying it with non-stick spray. This ensures nothing sticks and makes for easy clean-up.
- Make the Crumble Mixture: In a mixing bowl, beat together 3/4 cup softened butter, 2/3 cup granulated sugar, and 2/3 cup brown sugar until fluffy and well combined. Mix in 1/2 teaspoon baking soda, 1/2 teaspoon salt, 1 1/3 cups flour, and 1 1/3 cups quick oats until just combined—this will create your oat crumble.
- Press the Bottom Layer: Take half of the crumble mixture and press it evenly into the bottom of the prepared pan. Bake this layer for about 13 minutes, until it’s lightly golden and fragrant.
- Prepare the Cheesecake Filling: While the bottom layer is baking, whip up your cream cheese filling. In a bowl, beat together 1 (8 oz) softened cream cheese and 1 (14 oz) can sweetened condensed milk until smooth. Mix in 1 teaspoon vanilla and 1 egg yolk until fully combined.
- Layer the Filling: Once the bottom layer is done baking, carefully spread the cream cheese mixture over the baked crust, making sure it’s even and smooth.
- Add Blueberries: Sprinkle 1 cup of blueberries on top of the cream cheese layer. You can scatter them or arrange them for a prettier look—it’s entirely up to you!
- Top with Crumble: Using the remaining crumble mixture, sprinkle it evenly over the blueberries and gently press it down to ensure it sticks.
- Bake to Perfection: Bake for an additional 20-25 minutes until the edges turn golden brown and the filling has set slightly. The house will smell incredible at this stage!
- Cool Completely: Finally, let your delicious Blueberry Crumble Cheesecake Bars cool completely in the pan before cutting them into squares. This helps them firm up for easier serving.
Storing & Reheating
Store any leftover Blueberry Crumble Cheesecake Bars at room temperature for up to 2 days. For longer storage, refrigerate them in an airtight container for up to a week. If you decide to freeze them, wrap individual bars in plastic wrap, then place them in a freezer-safe container for up to 3 months. When you’re ready to enjoy, you can reheat them in the microwave for about 15-20 seconds or let them thaw in the fridge overnight. They may lose a bit of their crumble texture, but a quick pop in the oven can help restore some of the crispiness.
Chef’s Helpful Tips
- Ensure your cream cheese is at room temperature for a creamy filling; it blends more easily when softened.
- Be careful not to overmix your crumble; you want it to be crumbly, not doughy.
- Baking time may vary depending on your oven, so keep an eye out for golden edges. If the top appears to brown too quickly, cover it lightly with foil.
- For added flavor, consider mixing in a teaspoon of lemon zest into the cheesecake filling or serving with a dollop of whipped cream.
- If you prefer a thicker cheesecake layer, simply increase the amount of cream cheese by 4 oz.
These Blueberry Crumble Cheesecake Bars are a truly phenomenal treat, merging creamy, fruity, and crunchy textures into one sinful bite. They’re perfect for a weekend family get-together or as an exciting dessert after dinner. Don’t forget to share with loved ones; you might just end up being asked for the recipe, and isn’t that the best compliment?
Recipe FAQs
Can I use frozen blueberries?
Absolutely! You can use frozen blueberries right from the package. Just toss them directly into the filling without thawing. This will keep them intact and juicy as they bake.
How do I know when the bars are done baking?
You can tell your bars are done when the edges are golden brown, and the cheesecake layer is set rather than jiggly. A toothpick inserted into the center should come out clean or with a few crumbs.
Can I make these bars gluten-free?
Yes! Swap the all-purpose flour for a gluten-free baking blend. Ensure that your oats are certified gluten-free as well, and you will have a delicious gluten-free treat!
How long do these bars last?
If stored properly in an airtight container, they can last for up to a week in the refrigerator. For freezing, wrap each bar tightly to maintain freshness, and they will last for up to 3 months.
Enjoy creating and sharing these delectable Blueberry Crumble Cheesecake Bars! They truly capture the best of summer flavors and are sure to become a favorite amongst friends and family alike.
PrintMore Desserts & Appetizers Recipes
- Zucchini Cake Recipe (Ultra-Moist & Easy)
- Smores Marshmallow Pops
- Blueberry Cheesecake Protein Popsicles
- No-Bake Watermelon Pie: An Easy Summer Dessert
- Cottage Cheese Ice Cream
Did You Enjoy Making This Recipe? Please rate this recipe with ⭐⭐⭐⭐⭐ or leave a comment.
📖 Recipe Card
Blueberry Crumble Cheesecake Bars
- Prep Time: 15 minutes
- Cook Time: 35-45 minutes
- Total Time: 0 hours
- Yield: 24 servings 1x
- Category: Desserts & Appetizers
- Method: Baking
- Cuisine: American
Description
These Blueberry Crumble Cheesecake Bars pack a delightful combination of creamy cheesecake and juicy blueberries, all wrapped in a crumbly oat crust. Perfect for a sweet treat at any occasion!
Ingredients
- 3/4 cup butter, softened
- 2/3 cup sugar
- 2/3 cup brown sugar
- 1/2 tsp baking soda
- 1/2 tsp salt
- 1 1/3 cups flour
- 1 1/3 cups quick oats
- 1 (8 oz) cream cheese, softened
- 1 (14 oz) can sweetened condensed milk
- 1 tsp vanilla
- 1 egg yolk
- 1 cup blueberries
Instructions
- Preheat the oven to 350 degrees Fahrenheit. Spray a 9 x 13 pan with non-stick spray and set aside.
- In a mixing bowl, beat together the softened butter, sugar, and brown sugar until well mixed. Then mix in baking soda, salt, flour, and quick oats.
- Press half of the mixture evenly into the bottom of the prepared pan and bake for 13 minutes.
- While the bottom layer bakes, prepare the filling by beating together the softened cream cheese and sweetened condensed milk until well combined. Then add in the vanilla and egg yolk.
- After the bottom layer is done baking, remove it from the oven and gently spread the cream cheese mixture evenly over the top.
- Sprinkle the blueberries over the cream cheese mixture evenly.
- Sprinkle the remaining oatmeal crumble on top and press down lightly to ensure it sticks.
- Bake for 20-25 minutes, or until the edges are golden brown.
- Allow the bars to cool completely before cutting into squares.
Notes
For a sweeter taste, you can increase the amount of sugar slightly.
These bars can be stored in the refrigerator for up to one week.
Feel free to substitute blueberries with your favorite berries for a different flavor.
Nutrition
- Serving Size: 1 bar
- Calories: 198
- Sugar: 14g
- Sodium: 85mg
- Fat: 9g
- Saturated Fat: 5g
- Unsaturated Fat: 3g
- Trans Fat: 0g
- Carbohydrates: 28g
- Fiber: 1g
- Protein: 3g
- Cholesterol: 37mg